Painting a wall is one of the most straightforward yet transformative DIY projects you can undertake to refresh and update your space. Whether you’re a seasoned DIY enthusiast or a beginner looking to tackle your first painting project, mastering how to paint a wall is a valuable skill. Follow this step-by-step guide to achieve professional-looking results and breathe new life into your walls.
Step 1: Prepare the Room
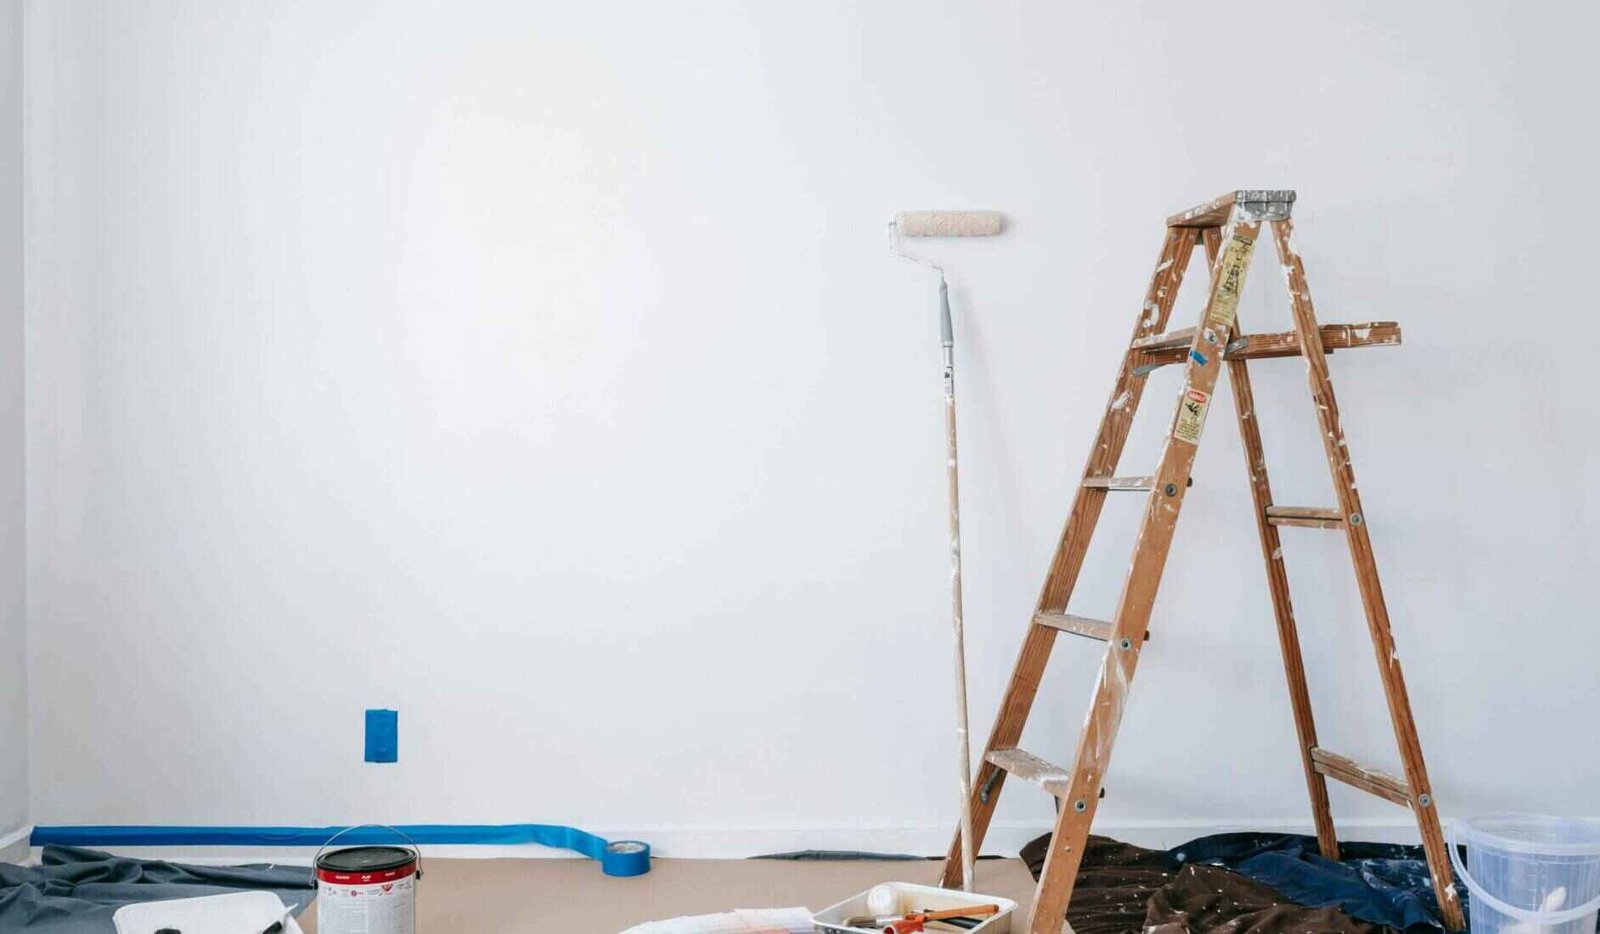
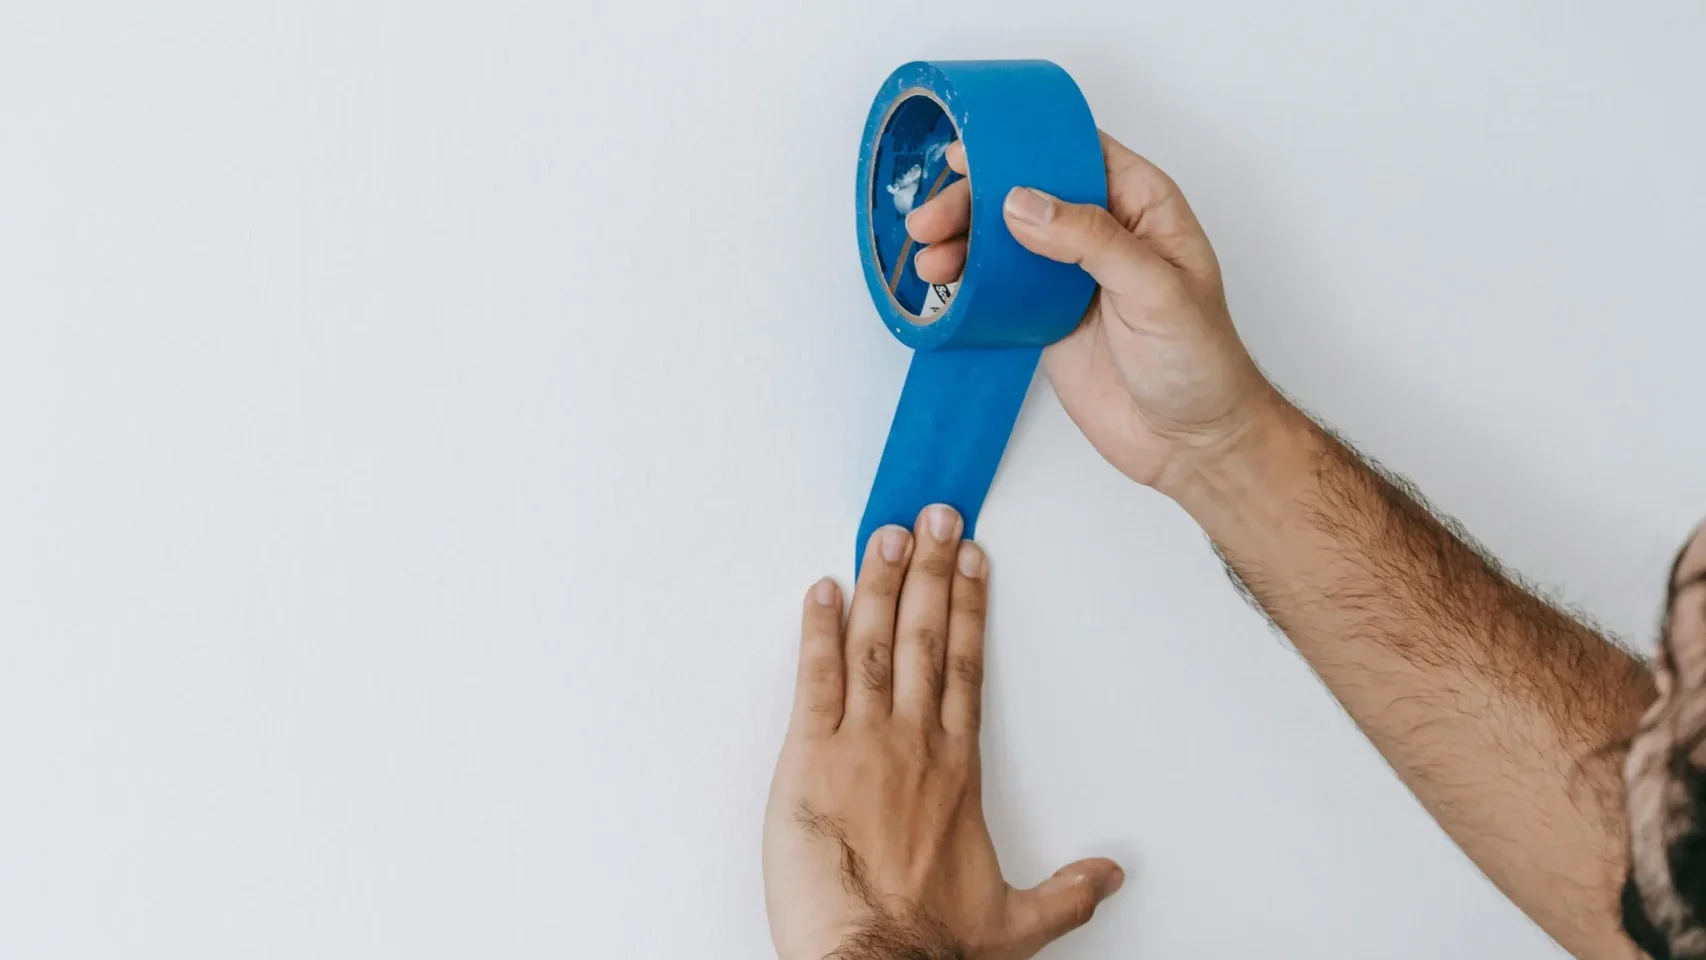
Before you begin painting, it’s essential to prepare the room properly. Start by removing furniture from the area or covering it with drop cloths to protect it from paint splatters. Use painter’s tape to mask off trim, baseboards, and any other areas you don’t want to paint. Finally, clean the walls with a mild detergent solution to remove dust, dirt, and grease, ensuring a smooth and even paint application.

Step 2: Gather Your Materials
Gather all the necessary materials before you start painting. You’ll need high-quality paint in your desired color, paintbrushes or rollers, a paint tray, painter’s tape, drop cloths or plastic sheeting, a ladder or step stool, and a stirring stick. Consider using a primer if you’re painting over a dark or uneven surface to ensure better adhesion and coverage.
Don’t know which paint brand is best? Check out our article comparing popular Canadian painting brands.


Step 3: Prime the Surface (if necessary)
If you’re painting over a previously unpainted surface or one with significant imperfections, applying a coat of primer can help create a smooth and uniform base for your paint. Use a brush or roller to apply the primer evenly, allowing it to dry completely before proceeding to the next step. Primer also helps seal porous surfaces and improves paint adhesion, resulting in better overall coverage and durability.
Step 4: Cut in the Edges
Start by “cutting in” the edges of the wall with a paintbrush before using a roller to paint the larger areas. Cutting in involves painting along the edges of the wall, including corners, ceiling, and trim, to create clean and precise lines. Use a high-quality angled brush and steady hand to achieve sharp edges, taking care not to overlap onto adjacent surfaces. Painter’s tape can be used as a guide for particularly tricky areas.

Step 5: Roll on the Paint
Once you’ve cut in the edges, it’s time to roll on the paint. Pour a generous amount of paint into the paint tray and load the roller evenly by rolling it back and forth in the tray. Begin painting the wall in a “W” or “M” shape to distribute the paint evenly, then fill in the remaining areas with long, vertical strokes. Work in small sections to ensure consistent coverage and avoid drying lines or lap marks.

Step 6: Apply Additional Coats (if necessary)
Depending on the color and type of paint you’re using, you may need to apply multiple coats for full coverage. Allow each coat to dry completely before applying the next, following the manufacturer’s recommended drying times. Take care to feather out any edges or overlaps between coats to create a seamless finish. Remember that thin, even coats are better than thick, heavy ones, as they dry faster and result in a smoother finish.
Step 7: Remove Painter’s Tape and Clean Up
Once the paint has dried completely, carefully remove the painter’s tape from trim and other masked-off areas to reveal clean, crisp lines. Dispose of drop cloths or plastic sheeting, and clean your brushes and rollers thoroughly with soap and water or paint thinner, depending on the type of paint used. Replace furniture and accessories, and enjoy your freshly painted walls!

In conclusion, to paint a wall is a simple yet rewarding DIY project that can instantly transform the look and feel of any room. By following these step-by-step instructions and taking your time to prepare properly, you can achieve professional-looking results and create a space you’ll love to live in. So grab your paintbrushes and rollers and get ready to unleash your creativity on your walls!

Get Your Painting Done Today
With the best value in GTA. Don’t be a stranger, call today!